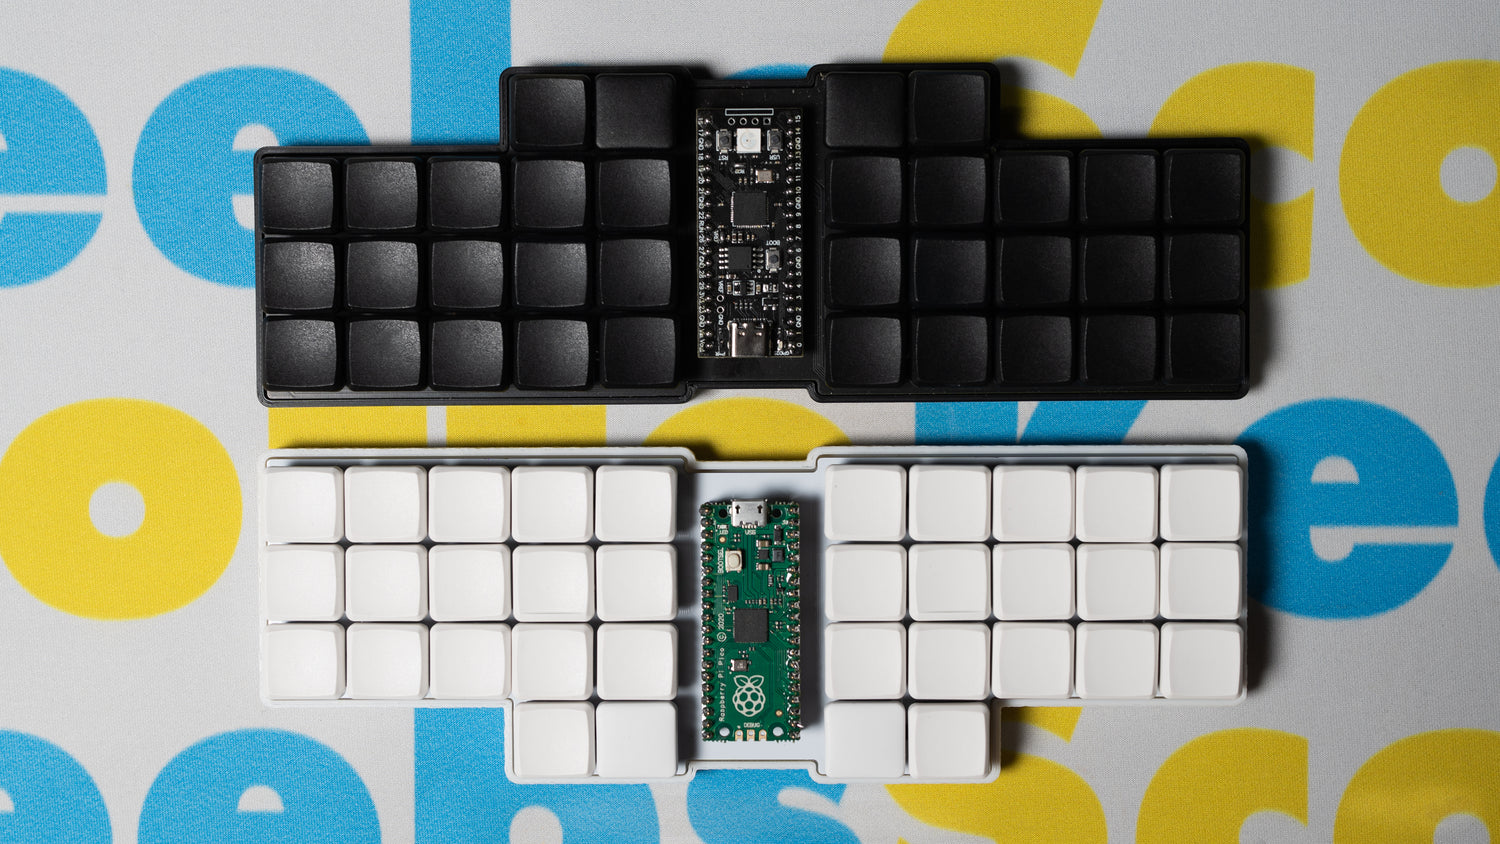
One of the most common things I'm asked is how one can compile QMK firmware. Up until a few weeks ago my answer would have been that you need to set it up locally on your machine. However, that is not the case anymore since @regicidal.plutophage on my Discord server pointed out a more convenient way using Github Codespaces.
Codespaces are basically a remote machine running VSCode where you can execute commands and write code all from your browser. Because it's web-based, this will work on any operating system. The only limit I've encountered is that you can't flash firmware from the browser, you need to download and do it from your computer or QMK Toolbox. This isn't a massive issue but can be annoying if you're rapidly trying to develop a board and have to keep compiling, downloading, flashing, and repeating.
In this short guide, you should be able to find out everything you need to start compiling QMK using Github Codespaces. I will also have a video coming out on my channel soon showing this process.
Step 1: Setting Up the Repository
First you're going to want to go to Github and create a free account if you don't already have one. After that, navigate to the qmk_firmware repository and make a clone on your account using the "Fork" button.

Step 2: Creating the Codespace
After your fork is created, you can then create the Codespace by clicking the green "Code" button, navigating to the "Codespaces" tab, and clicking the big green button to create the Codespace.

Step 3: Configuring the Codespace
By default, QMK has VSCode set up to hide firmware files as to not clutter up the workspace. You are going to have to remove these exclusions so the firmware files are visible and able to be downloaded after compiling. Click the gear icon in the bottom left and open the settings menu. Then navigate to the "Workspaces" tab and select "Text Editor -> Files" on the left navigation column. Finally click the x next to .hex, .bin, and .uf2 in order to make them visible after compiling.


Step 4: Setup and Test QMK
./util/docker_build.sh scottokeebs/scotto34:default


Step 5: Download and Flash

Where to go from here?
You can now compile QMK meaning you have full access to all the features it offers. It's likely you will just want to modify a keymap for a board you didn't design and if that's the case you can simply press CTRL/CMD + P and search for the board to find it's source code. You may have to do some research to find out what the board folder is called in order to locate it.

However, you might want to create firmware for a board you're developing yourself in which you can run a different command.
./util/docker_cmd.sh qmk new-keyboard
This will run the command to create a new keyboard in QMK and prompt you with questions to configure it.

- info.json - This is the file in which you will configure the board. Things such as the matrix, enabling features like displays or RGB, along with various other information about the board.
- rules.mk - This file is required and is intentionally left blank. You will add things to this file if told to do so within the documentation.
- keymaps - This is where you can create different keymaps within folders. The default folder is the default keymap for the board. You can fill out keymap.cs by referencing the QMK keycodes list. You can also create other files here like config.h or rules.mk to setup certain things only for that keymap.

Finish
That's all I have for now and should be enough to get you started. I highly recommend referencing the QMK documentation for more information on any features you want to enable. It would also be a good idea to hop into my Discord server so you can ask questions as you have them.One last thing to note about Codespaces is that everyone has access to it for 120 hours a month but after that it's not free. It is extremely unlikely that anyone will be using it for more than that per month. You also don't have to worry about wasting your hours as Github will automatically pause the Codespace after inactivity. You can read more about this here.


2 comments
Disregard, the part about not excluding .hex, .bin, and .uf2 is a little different. I had to go to Workspace. Thanks for the guide!
I followed these instructions and I got to the part where it says “Copying scottokeebs_scotto34_default.uf2 to qmk_firmware folder.” However, I don’t see it in the qmk_firmware folder. I’ve tried searching and reloading. Any ideas?
https://imgur.com/4jXSuyy