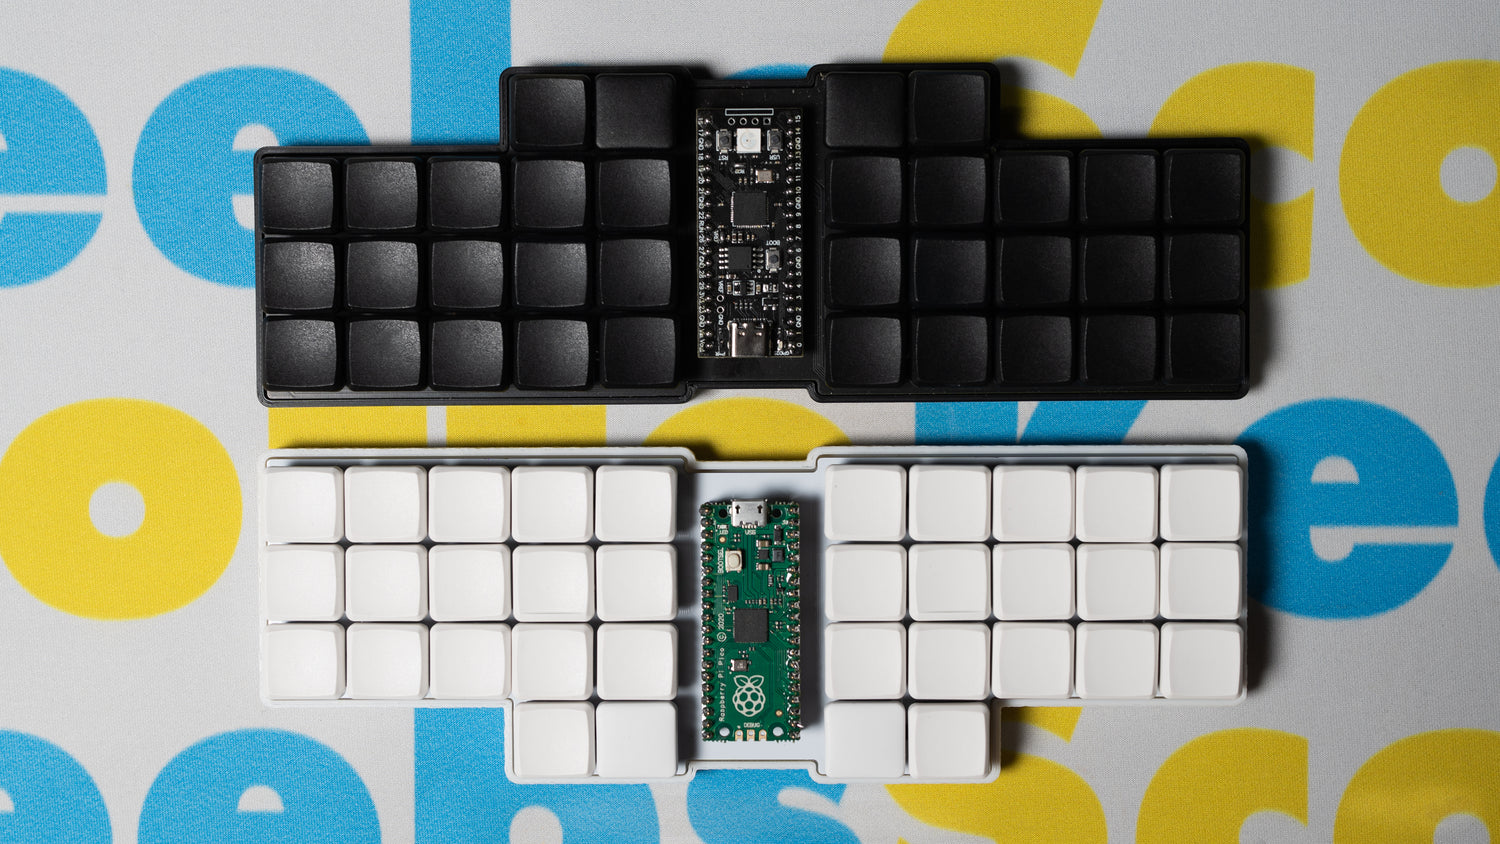
Getting One
If you’re interested in getting one assembled, contact me and we can discuss the components and other details for a commissioned build. However, the files are available here if you want to build one yourself.
In addition to the 3D printed case, heat shink tubing, wire, and copper, you'll also need tools along with the following components:
- 2 nice!nano
- 2 3.7v 750mah battery
- 2 Toggle buttons
- 2 Momentary buttons
- 8 1/2oz tire weights
- 48 1N4148 diodes
- 10 M2x6mm standoffs
- 10 M2x6mm screws
- 10 M2x5mm screws
- 48 Choc switches
- 48 1u keycaps
Wiring

When looking at the back of the board, the columns (blue) go to the following pins on the controller from right to left: P0.22, P0.24, P1.00, P0.11, P1.04, P1.06
Then the rows (red) go from top to bottom: P1.13, P1.11, P0.10, P0.09
Keep in mind, you can connect anywhere on the column or row to the controller, it doesn't need to just be at the end.
Firmware
You can find the most up-to-date firmware on the ScottoKeebs Github repository. Also available are the pre-compiled firmware files that are ready to flash:
colemak_left.uf2
colemak_right.uf2
qwerty_left.uf2
qwerty_right.uf2
The board supports ZMK Studio so you can configure your keymap with a graphical user interface.
After flashing both controllers, press the reset buttons at the same time to pair the halves after powering up the controller.
Video
Photos


2 comments
Would I be able to build this with Cherry MX switch & key caps or would it not fit since it’s designed for Choc switches?
The nice!nano link is pointing to the battery. Feel free to remove this comment once you have it fixed. Thanks for your work!